
The base of the house. Cardboard and glue gun -- sturdier than you think.


Oh wait, no washroom. :\
I'm going to have to build an outhouse unless I can squeeze in a small washroom on the second floor.

Little stones and clay... not dry yet.

Kind of ugly up close.


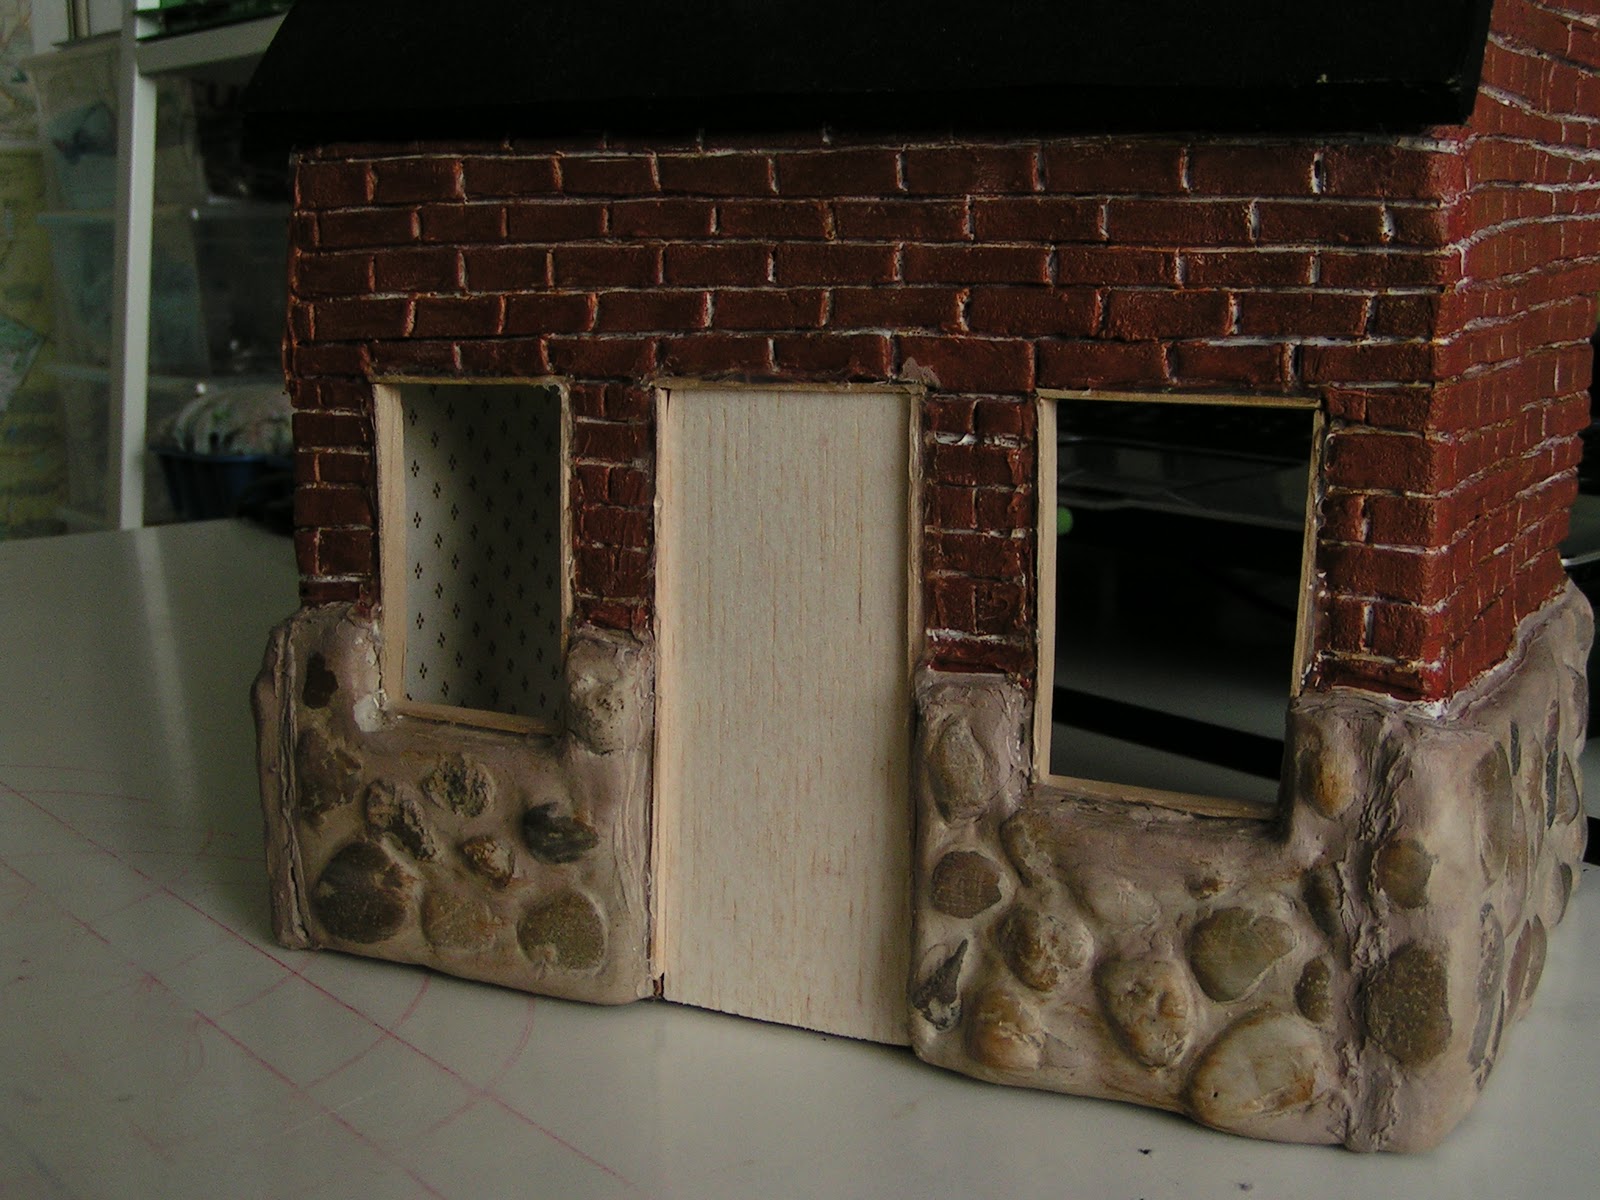
Just made the bricks out of clay, added a coat of matte acrylic medium which has yet to dry up completely. I'm probably going to paint the whole thing with acrylics before adding the roof and making the doors and windows. Interiors last. (:

Looks a bit odd from the front. :\
The bricks are a bit (very) askew.

I'm not very satisfied with the right side either but it does look better in person.

Close-up of the details and the flaws which will probably magically disappear after the paint.

Next up: white/green doors and windows.
There's actually white paint between each brick but it's barely visible from this angle and with the strong lights casting shadows on the cracks.


Finally glued on the wallpaper. Don't worry about those ugly edges and corners. There's going to be molding over all the edges. I will also add frames around the windows and door. Just to make sure that those ugly pieces of cardboard and all the little flaws are hidden.


Covered the bald spot with this little piece of furniture. Made it out of Balsa wood.

I think the little red sheet gives it a warmer feeling.

So, I added the moldings on the top floor and I think it looks much better this way. It's hiding all the flawed edges.I made the bed out of balsa wood. I think the dog looks really cute on the bed.

I'm almost done with the bedroom.
I want to put a chest in front of the bed and a standing mirror where the guitar is. The guitar will probably be moved to the lower floor or to another project maybe.


Bought this little guitar at Omer DeSerres for about two and a half dollars. Then I painted it, varnished it and added the strings.

I added a small Balsa wood border around the edge of the second floor.


I added a small Balsa wood border around the edge of the second floor.

I finally got around to making the moldings on the first floor. I will be adding a border around the window and door frames to hide those unpleasant features.
Made the door and the frames that are going to hold windows. They need to be painted first. There are a lot of things that need to be painted before the next step.

And now they've been painted.
No comments:
Post a Comment